First, it's really not that hard. And second, one of the first tenets of cheapness is "never hire anyone to do something you can do yourself." Plumbers, unfortunately, are really expensive! And they never, ever want to take instructions from me as I hang over their shoulder. My dad, on the other hand, is perfectly happy to teach me how to do this stuff and since my mother has placed a "handyman moratorium" on her house, he actually kind of likes to come over and putter around with me fixing stuff at my house.
Back to the toilet...the main problem that we were having was that the toilet did not rest flat on the floor because the tile underneath it was not level. As a result, we had to use shims (little wood or plastic wedges) to level the toilet, but over time the shims would move and the toilet would start to rock...which means that the seal underneath it would be compromised and it would begin to leak. If the toilet leaks, not only do you have, um, toilet water outside the toilet, but if it is not dealt with, your floor will rot.
I talked with my dad and we decided that not only did the toilet need replaced, but we needed to level the floor underneath it, either by building up the low spots or grinding down the high spots. Replacing a toilet is simpler than you might think, and doesn't require a lot of tools. Here is a schematic of a commode and the underlying plumbing:

To begin any project involving plumbing, the first thing to do is turn off the water. Usually, there is a shutoff right behind the toilet, with a waterline leading to the bottom of the tank. Shut this off, and you will be ready to begin. If there is no shutoff there, you will need to locate the shutoff for your house. Typically, this is located very near your water meter. In my case, the water meter is at the bottom of the stairs in the basement, and the shutoff is about 3 feet directly above the meter.
Once you get the water shut off, you need to get the water OUT of the toilet and tank. Just flush it to get most of the water out, then use a large sponge to remove the remainder of the water from the bowl and tank before continuing. Just soak up the water and squeeze the sponge into a bucket:

Next you want to undo the nuts on the hold-down bolts and lift the toilet. This can be really heavy, so it helps if you remove the tank first. The tank can be removed by undoing the tank bolts that attach the tank to the bowl. However, if you are replacing the toilet because of a leak, sometimes these bolts can be corroded, so it may be easier to lift the toilet in one piece. BEFORE you lift it, know where you are going to put it! If you have a bathtub, place the toilet in there, then if there is any water yet in it, it just drains into the tub.
Now that the toilet is up, there will be a bit of a mess to clean up:

You will also need to clear the old wax ring away from the floor flange. Wax rings look like this:

A wax ring only costs a few dollars at the hardware store. Most times that you might have a leak that is seeping from under the toilet, the problem is the wax ring. Because parts are cheap, but plumbers are expensive, it is always good to have a little basic plumbing knowledge. Definitely call a professional if the job gets too big, but replacing a wax ring, or even a whole toilet doesn't really require any special technical knowledge.
Once we pulled up the wax ring, we found one of the problems with the toilet. For one, the spacer between the flange and the toilet was bent into a saddle-shape, and was only attached to the subfloor with a single tiny screw and flimsy washer. Rather than attaching it properly, the knuckleheads who "repaired" this house threw some mortar in the hole, and then slapped some silicon in there and stuck a toilet on top of it. Blech:

If your hardware is not as destroyed as this was, you can just clean away the remainder of the wax ring, put in a new one, and replace the toilet. If you have this mess, you have some more work to do. Dad and I started with leveling the tile under the toilet. One of about 6 problems with this toilet was that the tile underneath was not level. So, we started to knock down the high parts with an angle grinder:
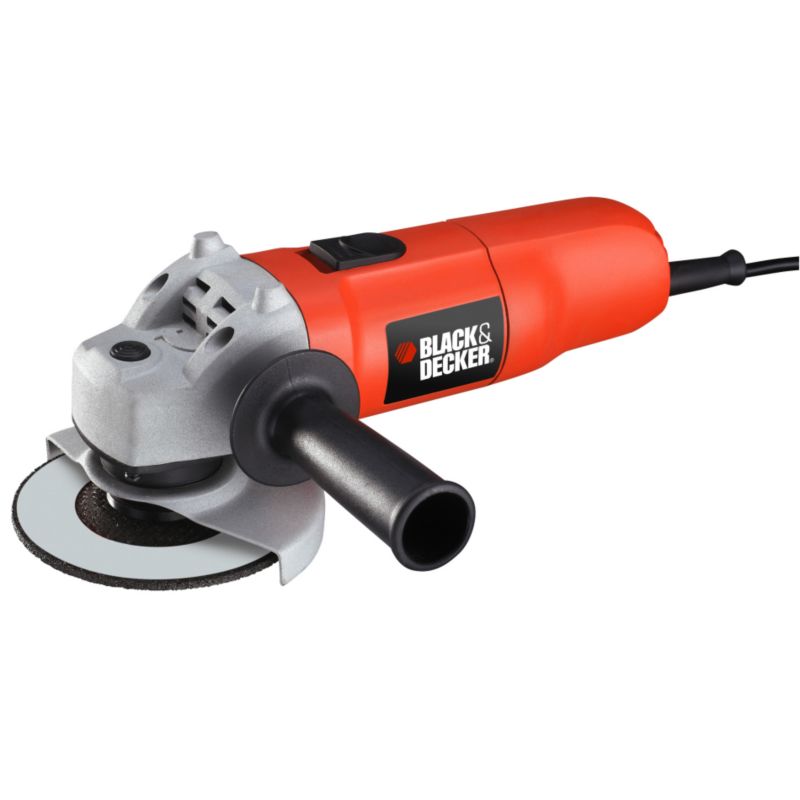
A word of warning...if you do this, dust will fill the bathroom, followed by an acrid smoke, which will set off all the smoke detectors in the house. You know, just an FYI.
After that, we chiseled out the mortar and corrosion that was preventing the spacer from lying flat to begin with. Before you start this, wad up an old towel and put it in the soil pipe. The last thing you want is a bunch of stuff ending up in the soil pipe and clogging your drain. Once we had the mortar and corrosion from the flange cleaned up, we put in a new spacer:

The new spacer was installed by driving concrete screws directly into the mortar that had been used to level the subfloor. Most replacements will not require the acrobatics that we went through to get to this point. And most intelligent people would not look at the mess that we found and say "Dad! Get the grinder!!" A smart person would have called a plumber. We are not smart, though.
At this point, you are ready to reinstall the toilet. The first thing you should do is place the bowl of the toilet on the hold down bolts. It helps to have two people to do this, since once can guide the toilet onto the bolts. If you are by yourself, though, here is a trick....to make the hold down bolts stand straight up, take a bit of your old wax ring (the one you scraped off the bottom of the toilet), roll it up like silly putty, and stick it to the head of the bolt. You can stick that bolt to the floor, and it will stand straight up.
Once you have the toilet on the bolts, sit down on it, and make sure it is sitting level. If you need to, place your shims under the edge and make sure you can't rock it back and forth (it helps to have two people...one can sit, and the other can shim). Then, take a pencil and outline the edge of the tank on the floor, marking where your shims go:

The black mark in front of the waste pipe is where we ground the tile down, but you can see that is completely inside the outline for the toilet, so it will be completely hidden.
Take the towel out of the waste pipe, and you are ready to put your toilet back on. Start by unwrapping your wax ring (which is like a combination of wax and glue, it is pretty disgusting) and placing it on the bottom of the toilet. It will stick there:

Now, flip the toilet over, guiding the hold down bolts through the holes in the base, and pressing the toilet onto the wax ring. Use the outline you drew on the floor as a guide. When the toilet is in place, put the nuts onto the hold down bolts, tightening them evenly on each side to hold the toilet down. Sit on it...make sure it doesn't rock. Then you will attach the tank, seat, water line, and turn the water back on. The tank will fill, and your new toilet is ready to use:

Now it is time for some beers!


8 comments:
In Australia (the over-governed nanny state) it is illegal to undertake this work unless you are a qualified plumber!
OMG, Gail, that is insane!! And, when I moved in to the house, I found a receipt from the plumber (who I am assuming was licensed) who was responsible for that travesty in a drawer in the bathroom.
I guess I can never move to Australia ;)
Well, now I'm even more impressed! Great instructions - although I'm still not entirely convinced I could do this myself. But, if ever I decide I'm going to give it a go, this post is going to be invaluable! You must save a fortune being able to do this kind of thing. I don't think there are any laws stopping you doing your own plumbing in the UK, although I do know there are laws about messing around with gas installations.
I'm always amazed at what people won't do for themselves. I'm a huge Do-It-Yourselfer like you. Toilets...no biggie ;-) I even have friends who wouldn't consider even trying to paint a room themselves.
Love, Love, Love your blog- I am so glad I am not the only one who can't stand the thought of paying someone to show me their butt crack and "fix" something at my house, only to have me go back later and really fix it! I have more tools than most guys, and my daughter seems to have the same gene- she used my Dewalt drill driver to help me put together her IKEA dresser and desk. I then had to go out the store, and when I returned, she had put the bedside table together by herself, without directions! She then proceeded to put all the drawers together. She was 10 at the time.
Heh. The only thing that made sense to me was 'get some beers.' LOL. Actually, you're right. Replacing the toilet doesn't look too hard. My flushing handle broke about a week ago. I can still flush, but I have to do it manually with...um...the part that broke off. =) The toilet as well as the hardware is old and needs to be replaced. If I have the nerve to undertake this myself, I'll surely remember your post.
First, thanks for the comment on my blog. It really helped to hear from you while I was under the weather. Also, the Febreze comment had mt ROFLMAO!!! Loved it!
Lastly, I love a fellow DIYer--you go girl!
you do not cease to impress me... what a master class. brilliant! and the best is that you think it is all so simple whilst it does take skill... amazing. Not that long ago we had a plumber at home and I can tell you that he was not at all as skilful and careful. I shall save the post for next time :-)
thanks for sharing
Post a Comment